Category Archives: small plates

garlic scape pesto

scapesKnow what these are?

If you do, then you’re one up on me.  I had never seen, nor heard, of garlic scapes until this year.  The top part of the garlic bulb, scapes are suddenly  turning up in blog recipes all around the internet.  Chef’s that I follow on instagram are serving them crispy atop fish.  They are trendy and (dare I say it?) hip.

It seemed that pesto was a pretty popular way that folks use these curly guys, and it was a good choice.  By cutting the amount of basil found in more traditional pesto recipes, and using garlic scapes in place of both the basil and the garlic, this pesto has a milder (and I think more palatable) flavor.  Using almonds rather than pine nuts gave it a wonderful creamy consistency.

Use it to top pasta, grilled bread, vegetables, fish, or poultry.  Thin it with a bit of water to use it as a salad dressing.  It is truly versatile.

*Before I give you the recipe, I want to draw your attention to the stunning serving board used in these photos.  This board was custom handmade for me out of curly maple by Emily at Board and Bread.  Her work is beautiful and the craftsmanship is amazing.  Order any piece and you will not be disappointed!

garlic scape pesto

5 garlic scapes, sliced into 2-3 inch pieces

4-5 fresh basil leaves

1/2 cup almonds, toasted

1/4-1/2 cups olive oil

1/4 cup fresh grated parmesan cheese

salt and pepper to taste

Add scapes, basil leaves, and almonds to a food processor.  Pulse until combined. Add parmesan cheese and pulse to mix.  While the food processor is running, add 1/4 cup olive oil in a steady stream.  Check to see if it is a smooth consistency.  Add more olive oil if necessary.  Season with salt and pepper to taste.  Store in refrigerator.

pesto

IMG_3467 IMG_3466 IMG_3461 IMG_3458 IMG_3447

Snacks + Downton Abbey

The best takeaway from working at the farm this season (besides the amazing fruit and vegetables, obviously) is the friendships I’ve formed.  I’ve met some wonderfully interesting people who, aside from this common desire to eat locally and organically, may have never crossed my path.  The sharing of our stories have filled up countless hours of weighing and packing:

-an internet disc jockey

-a private school Spanish teacher who sports dreadlocks in the summer and is planning to make the Camino de Santiago pilgrimage next summer

-a rock climber

When I casually mentioned that I had been tossing about the idea of re-watching seasons 1 & 2 of “Downton Abbey” before season 3 starts in January, several of these lovely friends expressed interest in watching along.  One had seen only season 1, two friends hadn’t watched at all.

Oh!  This was going to be good, I thought…

We’ve been meeting on Tuesday evenings and, after an initial 20 minutes of chatting and drink pouring, we take our places on the sofa and partake of some good old British debauchery, wit, romance, and, of course, the Dowager Countess.

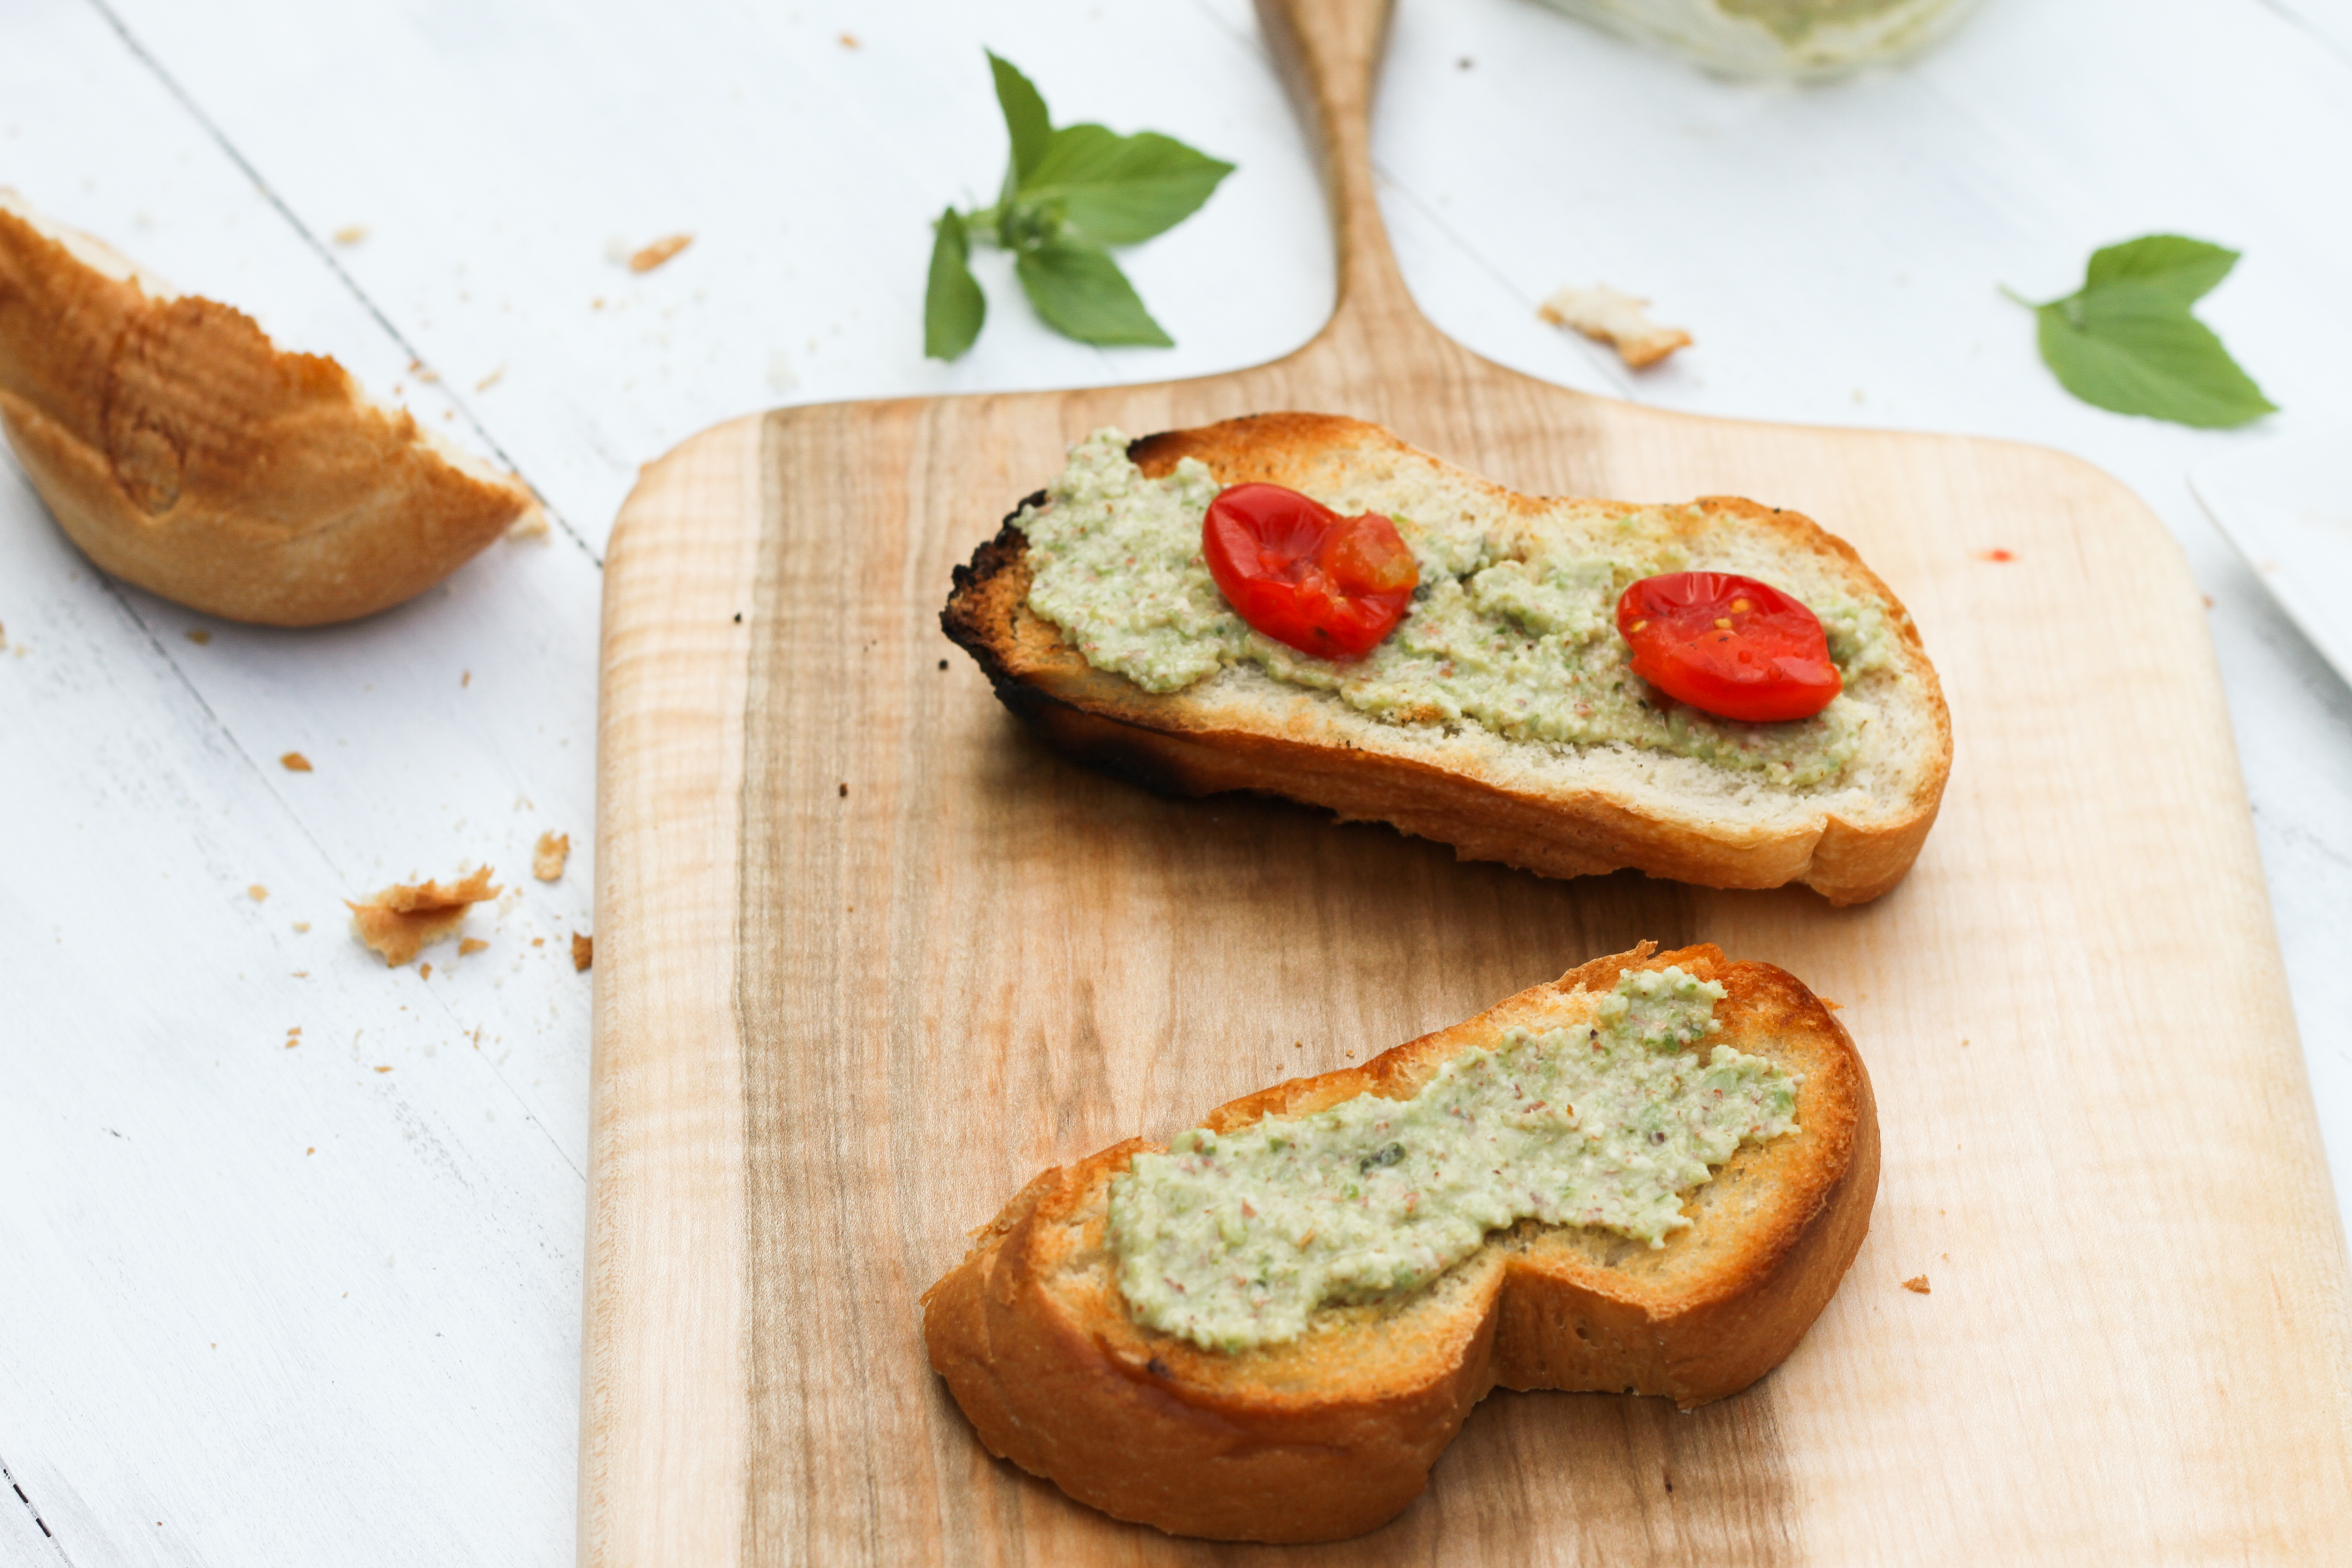
Snacks must be non-crunchy and never drippy.  Easy to balance on a cocktail plate and be eaten with dignity.

The date truffle recipe, although I have seen several recipes similar around the internet, belongs  entirely to Sprouted Kitchen.  I was so grateful to be able to use the remainder of the dates leftover from from this recipe.

The roasted chickpeas have a bit of a bite to them due to the cayenne pepper.  Make sure you don’t skip rubbing the skins off the chickpeas or they won’t crisp up in the oven.

I apologize for the quality of a few of the photos…they were taken with my phone.

date truffles with almonds

20 medjool dates, halved and pitted

1/2 tsp vanilla extract

1/3 cup creamy almond butter

1/3 cup unsweetened shredded coconut

1/3 cup plus 1 Tbsp cocoa powder

1/2 tsp sea salt

1 tsp cinnamon

1/3 cup almonds, toasted and chopped well

Put dates and vanilla in a food processor and pulse until a chunky paste.  Add almond butter and pulse a few more times.  Add cocoa powder, coconut, salt, and cinnamon and pulse again.  Mixture should be crumbly,but should stick together if pressed between thumb and finger.  If it seems too wet, add more coconut.  If too dry, add more almond butter or water one teaspoon at a time.

Roll a heaping Tablespoon of the mixture between your palms until you form a ball.  Do this with the rest of the mixture (should yield about 15-18).

Place toasted almonds on a plate and roll each ball in them, pressing down slightly to get them to stick.  Place truffles in the refrigerator at least an hour before serving.

spicy curry chickpeas

one 15-ounce can chickpeas, rinsed and drained

2 Tbsp olive oil

2 tsp curry powder

1/2 tsp dried thyme

1 tsp fresh grated ginger

1/8 tsp cayenne pepper

sea salt

Preheat oven to 400 degrees.

Place chickpeas on paper towels or a dish towel and gently rub each one to remove the outer skin.  This will take about 10-15 minutes, but as I said it’s necessary in order for them to crisp in the oven.

In a large bowl, stir together olive oil, curry, thyme, cayenne pepper, and ginger.  Add the chickpeas and fold gently to coat.  Spread chickpeas on rimmed cookie sheet lined with parchment paper.

Bake until light brown and crispy, about 45 minutes.  Turn them occasionally to cook evenly.

Remove from oven and sprinkle immediately with sea salt.
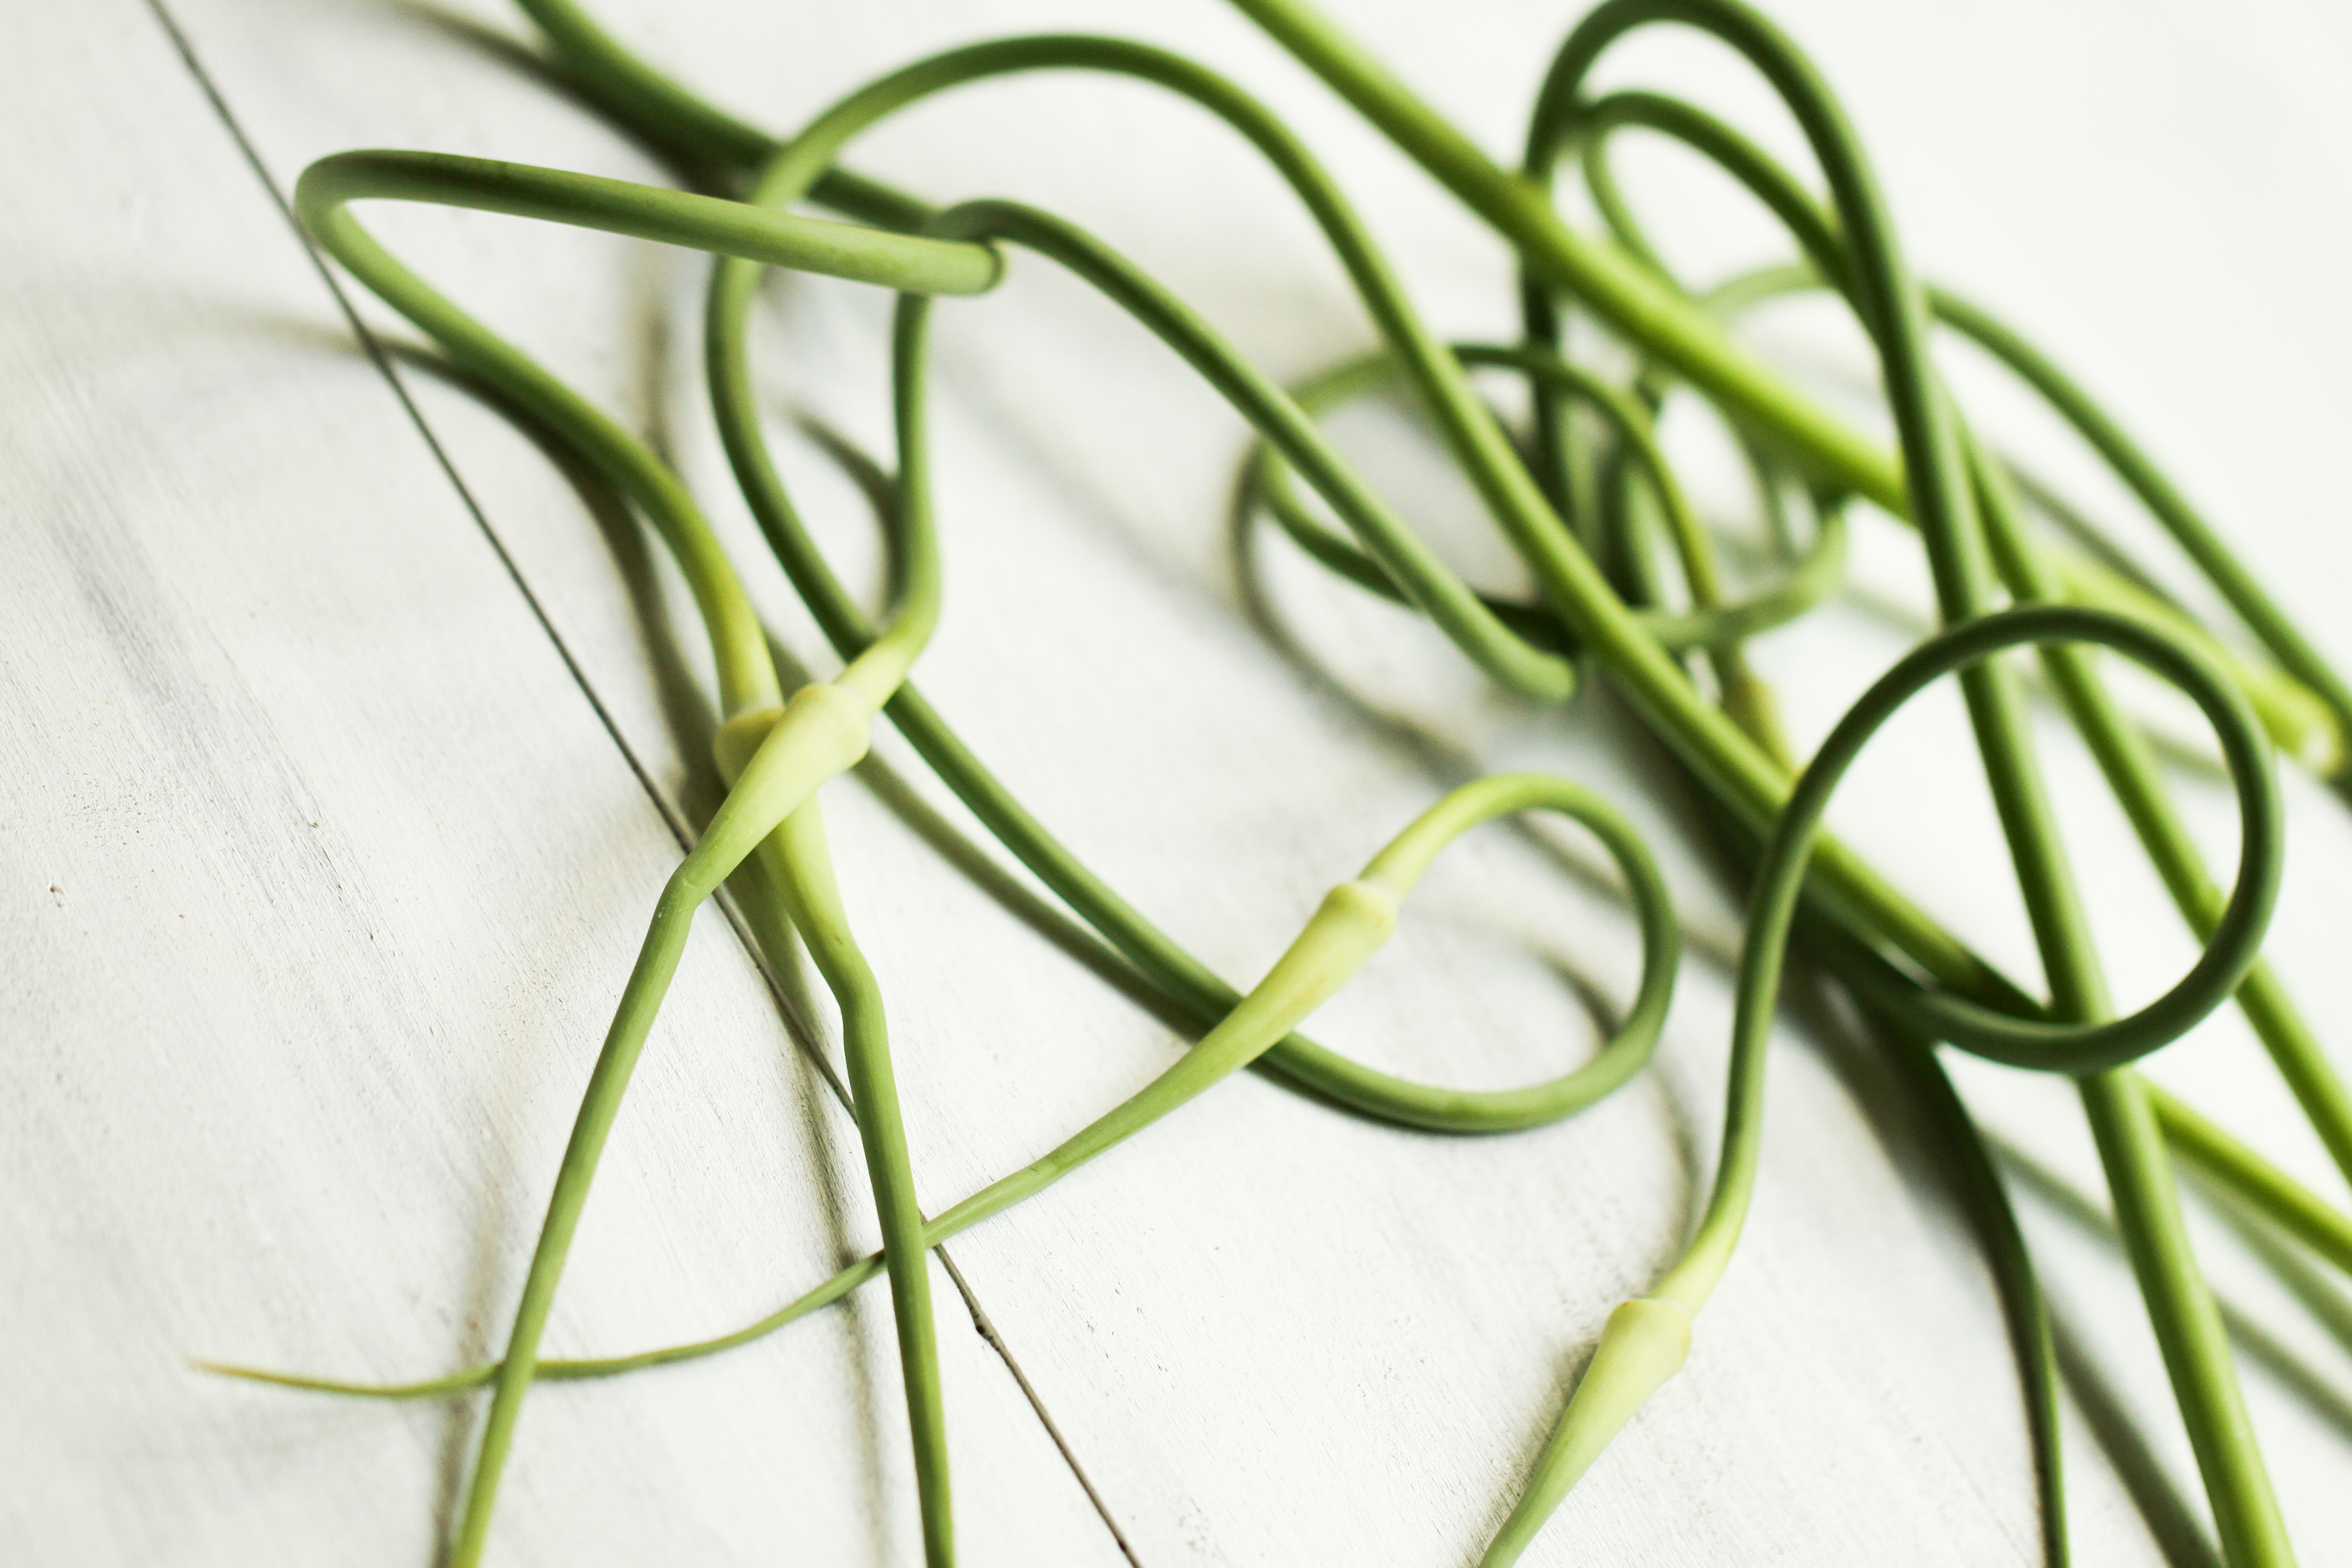
 

white bean spread with rosemary and toasted almonds

This past weekend we decided to forego several larger, more crowded local events (Preakness, Chesapeake Bay Blues Festival, Wine in the Woods) in favor of a beautiful hour-long drive to one of our favorite vineyards (on the east coast, that is).

Continue reading

vegetarian potstickers

Calling these potstickers is a bit of a stretch.  They are both fried (just a little) and steamed (mostly).  You can use potsticker or dumpling wrappers; however I prefer wonton wrappers.  They’re a bit thinner and stay a little crispy on top, even after steaming.  Don’t lay the wrappers out on the counter until the filling is ready or they will start to harden.  I don’t seal the edges in typical potsticker/dumpling fashion.  Too difficult for me.  I do something more like twisting and crimping, which creates a cute, little parcel.

These can be served with soy sauce or you can get all Momofuku and make a chive oil to drizzle on top  (I wish I had a recipe to link to, but sadly it’s only included in the cookbook).  Emeril Lagasse has a recipe here.  If you make it, add some toasted sesame seeds.  Delicious!

I like to serve them with a sweet chili  sauce by The Ginger People.

vegetarian potstickers

1 package wonton, potsticker, or dumpling wrappers

1 cup yellow split peas

1/2 cup chopped shallots

1/3 cup chopped fresh parsley

salt and pepper

Bring 5 cups of salted water to boil in a saucepan.  Add the split peas and lower heat to low to medium.  Cook until tender, about 20-30 minutes.  Drain.  Let cool slightly.  Process in food processor until mashed (not pureed).  Mixture will be chunky, but you may have to add a bit of water to get it mash properly.  Add 1/4 cup of water to start and see how that is.  Heat 2 Tbsp oil in a large skillet over medium heat (I use Safflower, but vegetable or canola work).  Add shallot and cook until soft, about 5 minutes.  Turn heat down to low.  Add pea mash to the shallots and stir until thoroughly mixed.  Add parsley.  You may have to add more water at this point if the mixture seems to dry.  It should hold together if pinched.  Remove from heat.  Salt and pepper to taste.  Let cool slightly while you prepare your wonton wrappers.

Sprinkle your counter with a small amount of flour.  Lay out your wrappers.  How many will you need?  Approximately 24, give or take.  Drop a mounded teaspoonful of filling into the middle of each wrapper.  Pull up the side of each wrapper, twisting and crimping to seal.

At this point you can place them on a cookie sheet lined with parchment paper and freeze them if you don’t want to cook them immediately.

Heat 2 Tbsp oil in a large skillet.  Place the potstickers in the skillet, close together but not touching.  Work in batches if necessary.  Cook in oil long enough to develop a golden brown crust on the bottom of each potsticker, approximately 5-7 minutes.  Add 1/3 cup water to the skillet and cover with a tight fitting lid.  Steam the potstickers until cooked, approximately 8-9 minutes. Remove from skillet and serve.

These reheat nicely in the microwave.